English is not my mother tongue, this page may contain incorrect words or sentences.
urriellu.net => Projects => Other => mabx
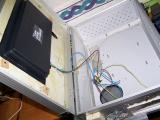
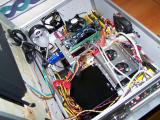
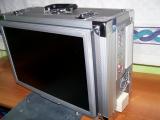
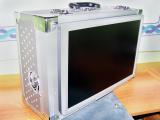
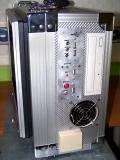
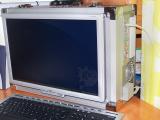
mabx is a computer assembled within a briefcase or toolbox for electricians. It contains all the hardware a common desktop computer has, including TFT, but it hasn't got batteries.
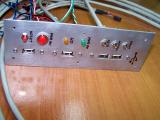
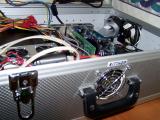
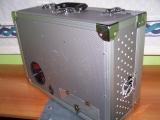
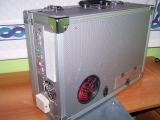
Most of the connections are internal, and to avoid having a bunch of wires out of the case, the rear panel connectors of the motherboard are inside the box,and just the most used connectors are placed on an aluminium panel facing outside.
The problem about laptops
Laptop computers are great for being carried, but I don't usualy need to move my computer (but sometimes I do). I don't need batteries, I will carry it for just a few meters or minutes so I don't care about its weight (I mean... its mass), and hardware for laptops is more expensive than the equivalent for a desktop computer. Excepected lifetime of hardware is just about two or three years, and it's very difficult to find cheap replacements, sometimes nearly impossible. That's why I prefer to build a portable computer using desktop hardware.
Audio jacks
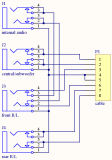
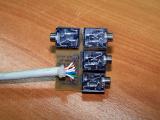
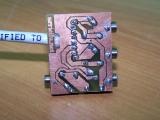
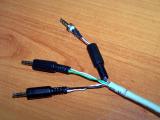
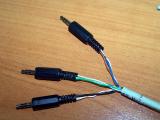
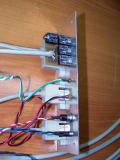
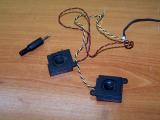
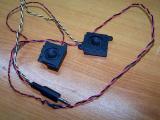
Two small speakers taken from an old laptop are placed inside the briefcase, but if you want to use external speakers or headphones we need some female jacks on the side panel. There are three female jacks facing outside the box and one facing inside. The internal speakers are plugged to the female jack facing inside, and they are disconnected automatically when external speakers or headphones are plugged in. All the audio lines goes through a CAT5 cable to the male jacks that are connected to the motherboard.
Wiring:
- Frontal speakers / headphones
- Ring: white-green
- Tip: green
- Central speaker and subwoofer
- Ring: white-orange
- Tip: orange
- Rear speakers
- Ring: white-brown
- Tip: brown
- Ground (common): blue and white-blue
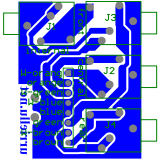
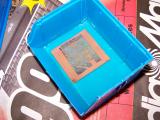
This is the first PCB I've built using the toner transfer method and I tested a bunch of things on it, so the result is not perfect, but the components side is silkscreened and can be read properly.
Aluminium side panel
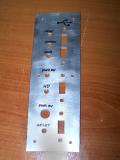
You can plug nothing directly to the motherboard, so I built a panel which contains the most commonly used things. This includes four female USB connectors, three female audio jacks for speakers or headphones, power-on and hard disk usage LEDs, and power-on and reset switches.
This panel was built using 2mm thick aluminium so it doesn't break the gray-style of the rest of the briefcase. My original idea was to silkscreen the aluminium using the toner transfer method, similar to making PCBs, but after a lot of tests about temperatures, papers and timings I was not able to stick properly all the toner to the aluminium.
HD and DVD writer support
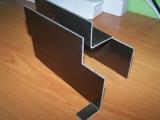
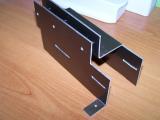
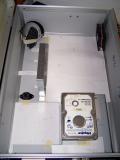
I built a pair of supports made from 2mm thick colored hand-bended aluminium, screwed to the rear panel of the briefcase and used to fix the hard disk and DVD writer to the box.
As you can see, one of the foots is larger than the rest of them because it shares its screw with one used to fix the power supply unit to the same panel of the briefcase.
Power supply unit
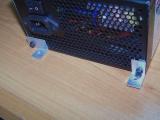
A pair of right-angled supports were built for fixing the PSU to the box. Those supports are placed only on one side and they are strong enough. One of them has a strange shape to avoid being screwed to the metal structure of the briefcase.
Expansion cards support
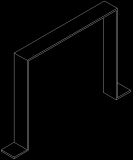
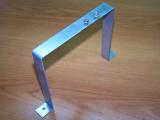
A 1.5mm thick steel arc is used to fix the PCI and PCIe cards to the box.
Internal speakers
Under the screen a pair of laptop speakers are placed and used when no other external speakers or headphones are plugged-in. These speakers are connected automatically when there is no external male jack plugged, so when using external speakers the internal ones are disconnected. See "Audio jacks" above.
Back door
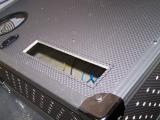
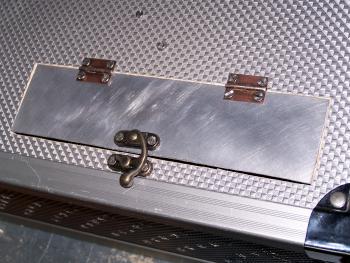 When a peripherial requires to be plugged directly to the motherboard (because there is no such connector on the side panel, see above) the cables can get into the box through a door placed on the rear side of the briefcase and which gives direct access to the motherboard connectors.
Assembly
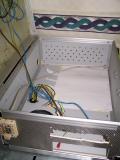
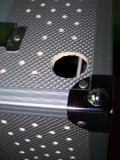
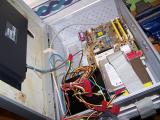
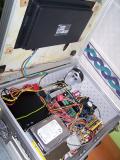
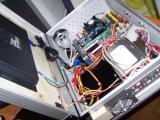
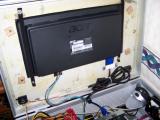
The original briefcase had a bunch of holes. One of those holes was a few centimeters wide so I covered it with a piece of wood remaining from cutting the same box.
For avoiding stress on the video cable I placed a metallic piece screwed to the wood panel which presses the cable in the direction of the TFT and prevents the cable to be separated from the screen (and be stressed).
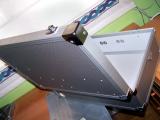
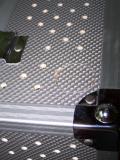
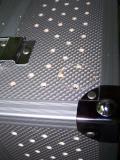
The second image is the CAD schematic of the pattern used to make holes on two of the sides of the briefcase and allow the passive entrance of air.
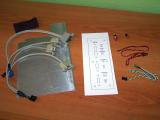
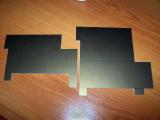
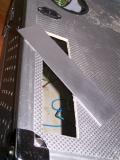
Those papers seen in the first images are templates of the same size of the motherboard, power supply unit, side panel and expansion cards, so I can work without touching the original hardware.
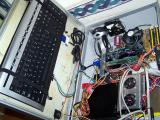
When the briefcase is carried the keyboard is fixed inside it using a pair of elastic straps, and network and power cables fit inside the holes left within the case.
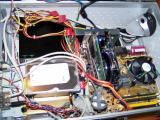
After finishing the assembly I recognized that the air flow was not enough (the CPU temperature raised to more than 70ºC and the HD temp to more than 60ºC), so I added two 8cm fans, one of them getting air in and the other getting it out, and a pair of small fans to cool the hard disk, so I flipped the HD. After placing the fans the CPU stays at 48ºC when idle (overclocked 600MHz).
Finished briefcase

ProjectsElectronicsCLK³pic³progMechatronicsSoftwarePigmeoOthermabxArticlesElectronicsSoftwareOtherAdvantages of C#Events2nd (inter)Universitary Free Software ContestMicrobotics championship at the University of Oviedo. Summer 2007About urriellu.netThis websiteAbout mePublishing licensesContact
languageespañolrot13morse codebrailleenglishrot13morse codebraille


