
English is not my mother tongue, this page may contain incorrect words or sentences.
urriellu.net => Projects => Electronics => pic³prog
pic³proc is a microcontroller programmer. It supports all the MCUs from Microchip (8 and 16 bit PICs and dsPICs). Most of the 8-bit PICs can be programmed using the built-in sockets of the programmer, and all of them can be programmed without being removed from the board of the circuit they are being used on, using ICSP (if the circuit is ICSP-ready). The list of MCUs that can be programmed using pic³prog depends on the programming software being used.
Most of MCU programmers has serial ports, but it is obsolete, nowadays a lot of computers doesn't include it, and not all manufactures employ the same wiring. The best choice is USB but the programmer would require a microcontroller on it, but obviously you can't program a MCU without a programmer. So after all the best choice was the parallel port.
This programmer is based on EPIC, a propietary programmer from Melabs. The original EPIC is expensive and incomplete: you need to buy some sockets, adapters or cables separately. pic³prog includes all of them and it is free.
Electronic schematic
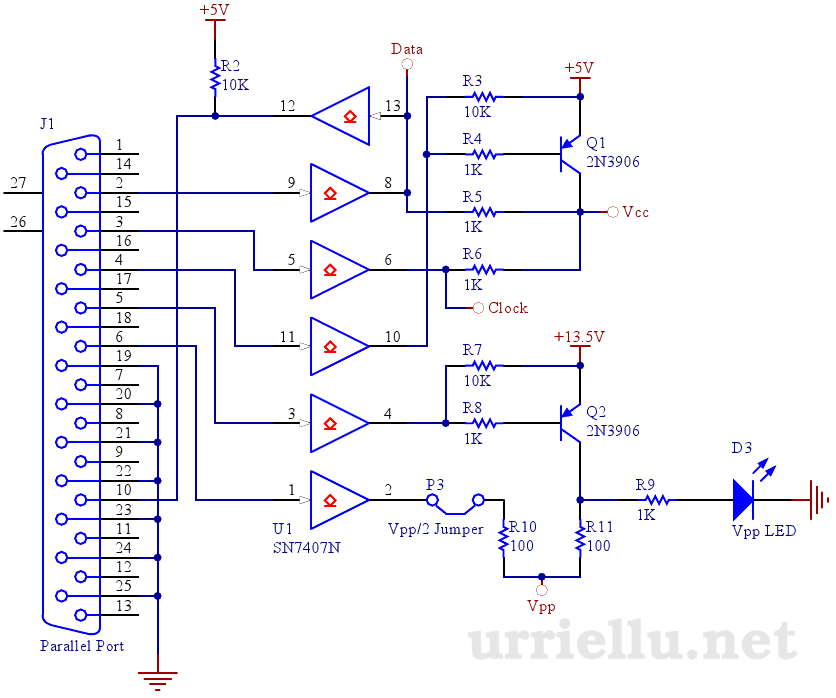 J1 is a female DB25, so you need a male-male cable for the programmer-PC connection. This cable is a bit difficult to find but you could use a male DB25 instead of the female one.
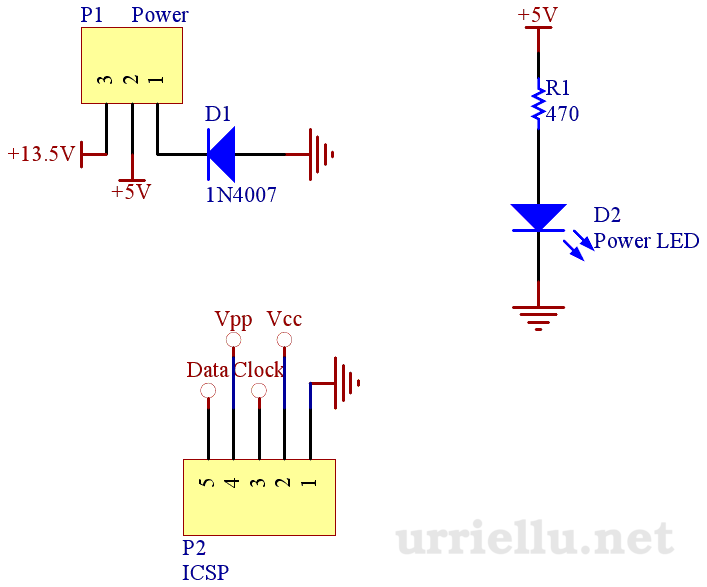

The circuit requires an external power supply of 5V for the logic and 13.5V (you can use 12V) for turning the microcontroller into programming-mode.
It includes two LEDs: one of them shows when the circuit is power-on and the other one shows when the MCU is being programmed.
Using the built-in sockets almost all 8-bit PICs within a PDIP package can be programmed. It doesn't include a ZIF socket because it is much more expensive and less useful than ICSP.
PC-programmer connection
On Windows melabs Programmer and WinPicProg can be used as programming software.
On Linux you can use PiKdev, Piklab, Odyssey...
and any other programming software that supports the original EPIC or allows you to select the pin distribution of the parallel port, in that case you need to configure them as:
- Pin 2 (D0) - Data output
- Pin 3 (D1) - Clock
- Pin 4 (D2) [inverted] - Vdd
- Pin 5 (D3) [inverted] - Vpp
- Pin 6 (D4) - Vpp/2
- Pin 10 (ACK) - Data input
Warning: Jumper P3 must be connected (shorted) while using any programming software, but disconnected while using PiKdev.
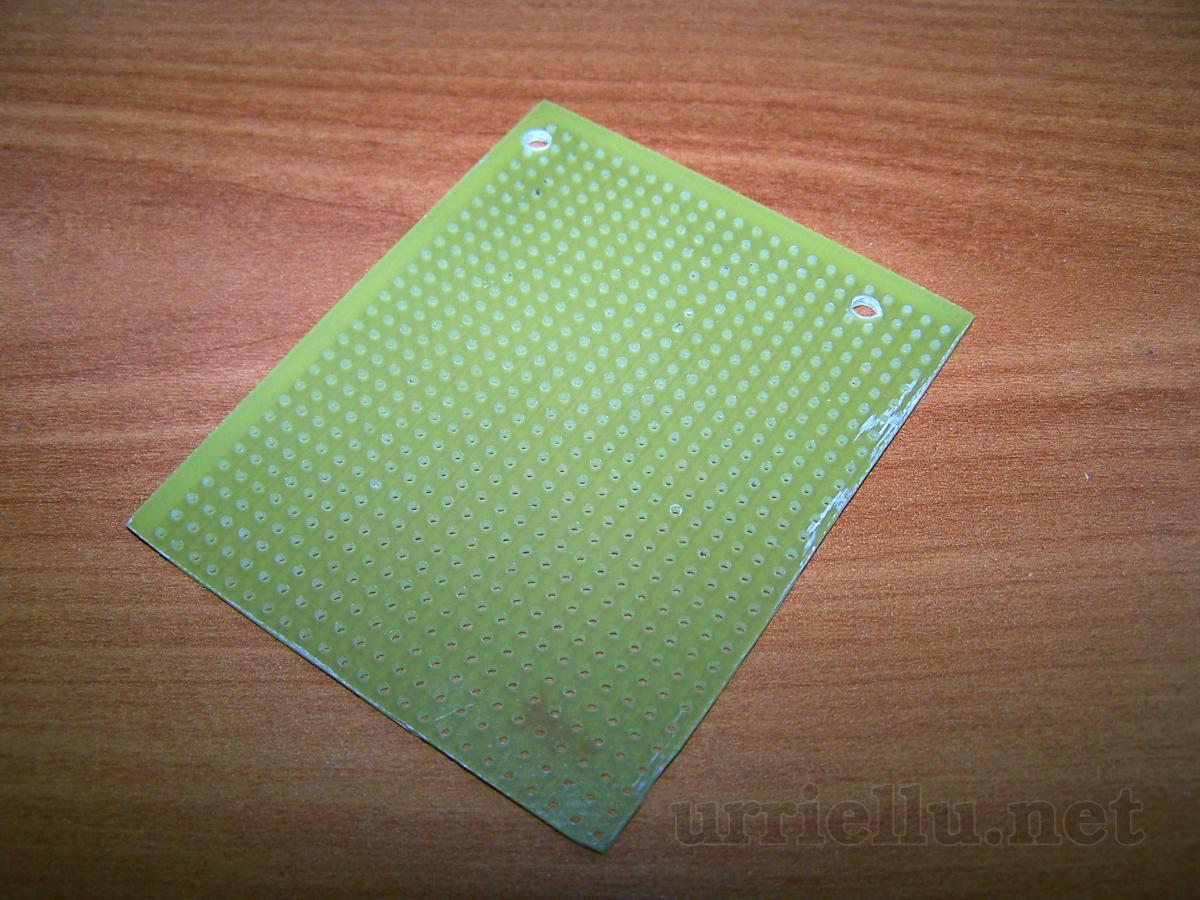
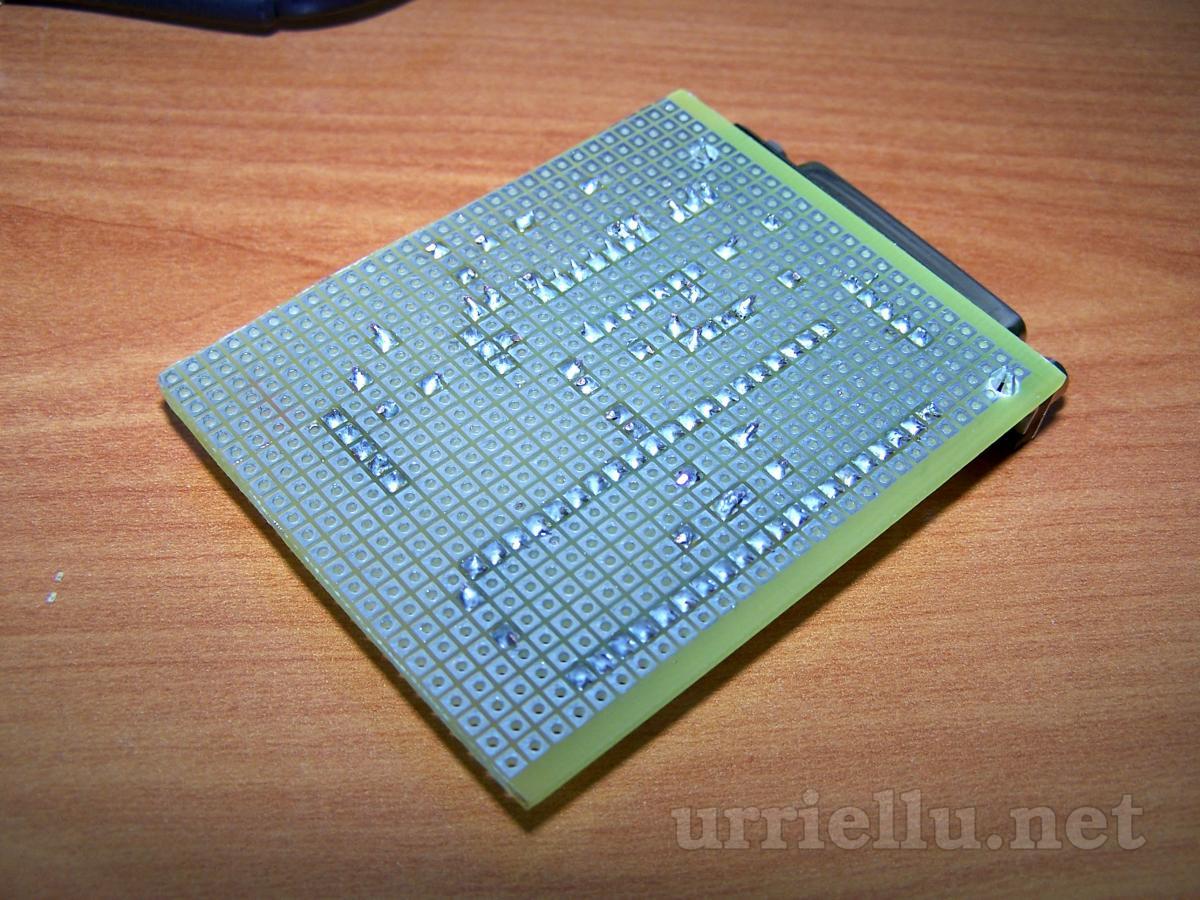
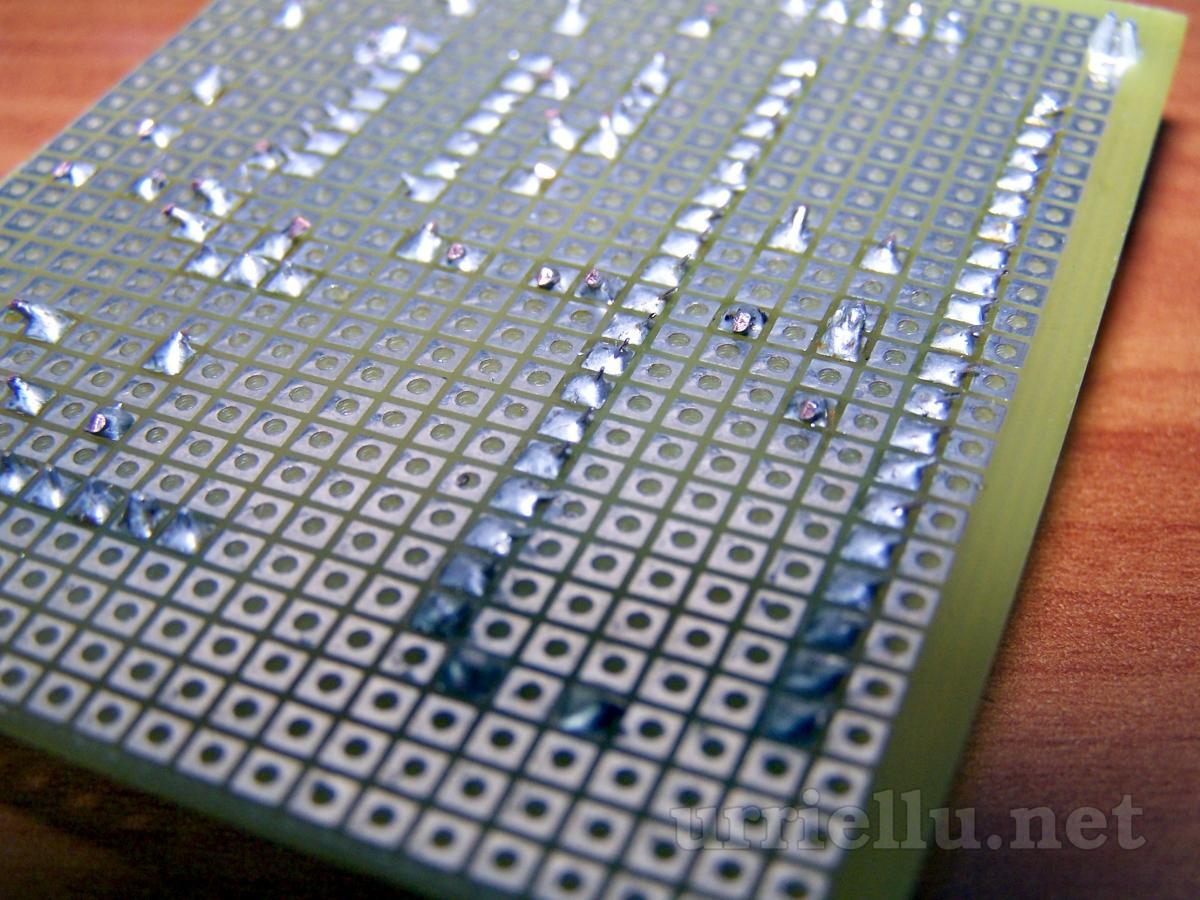
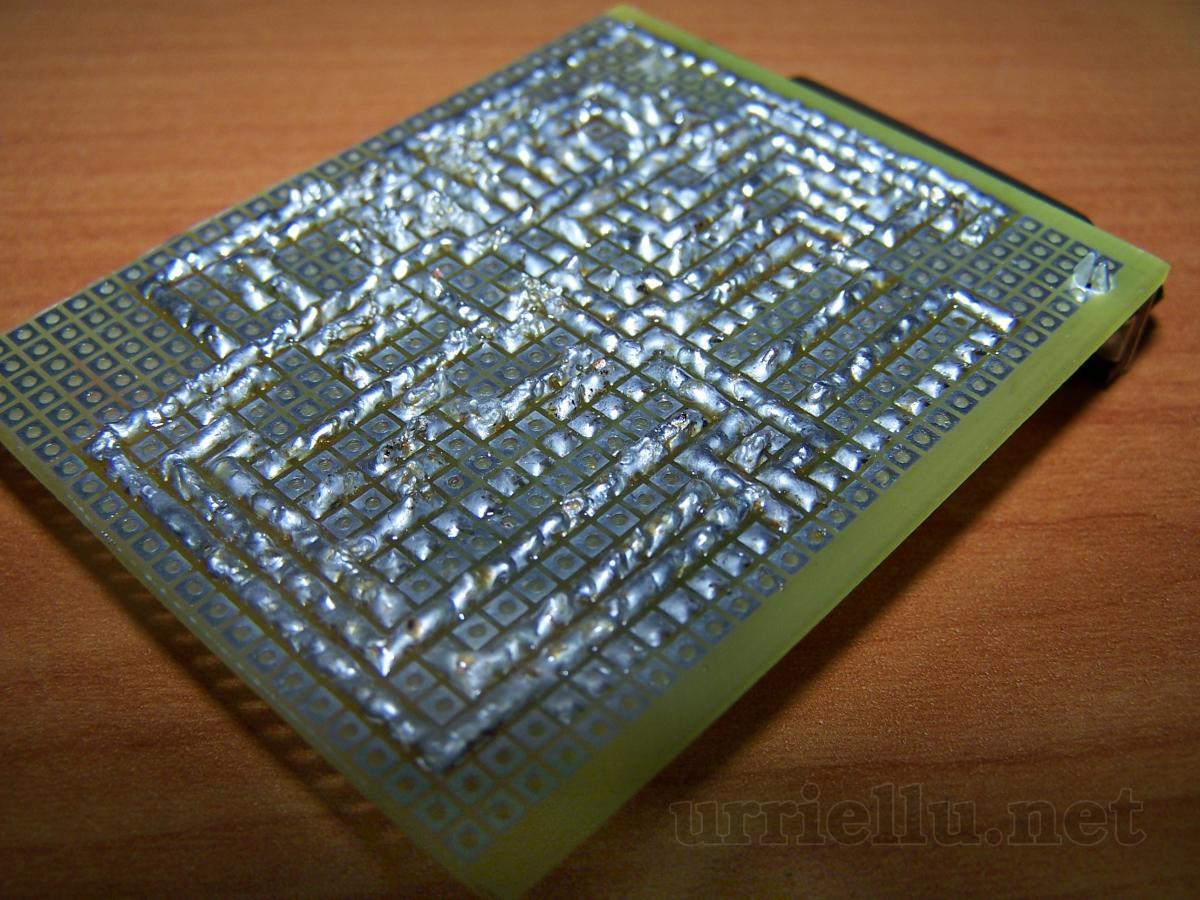
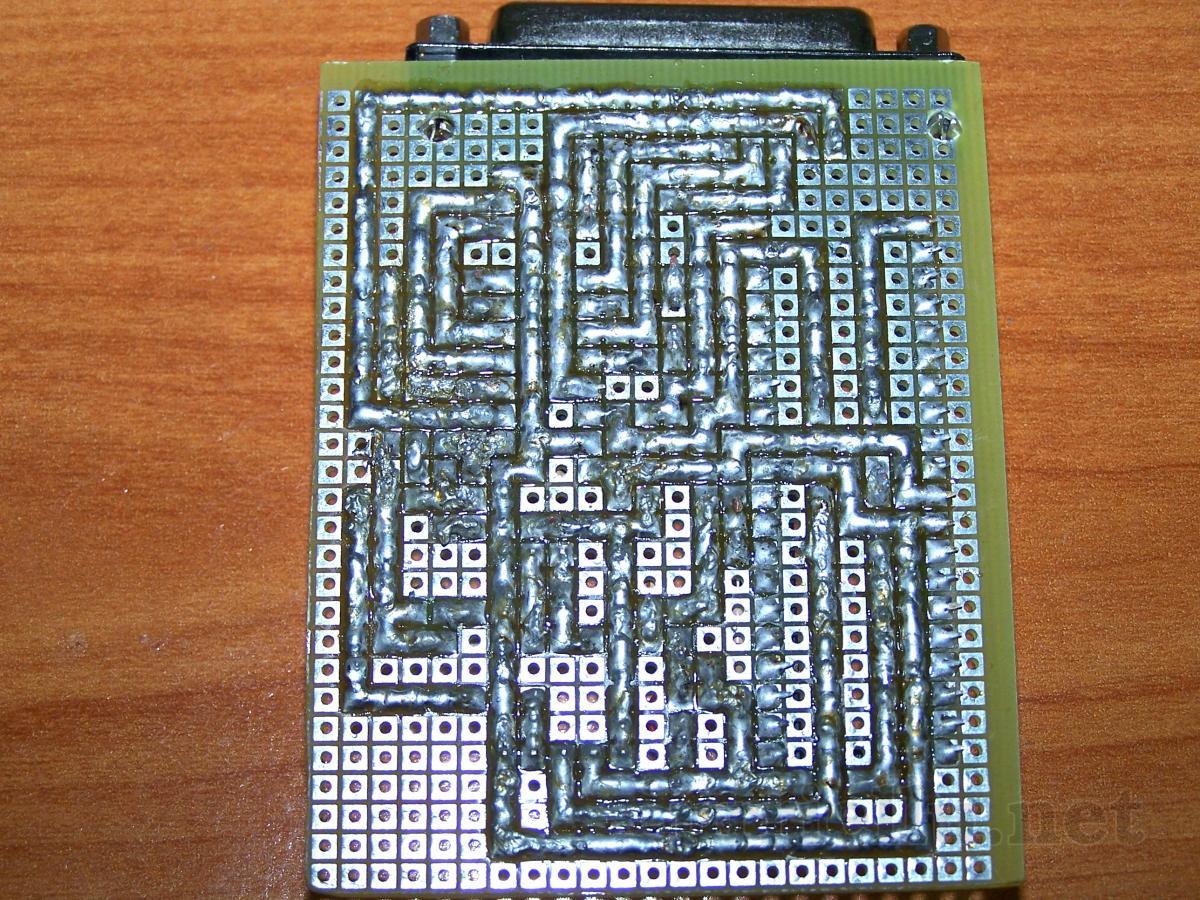
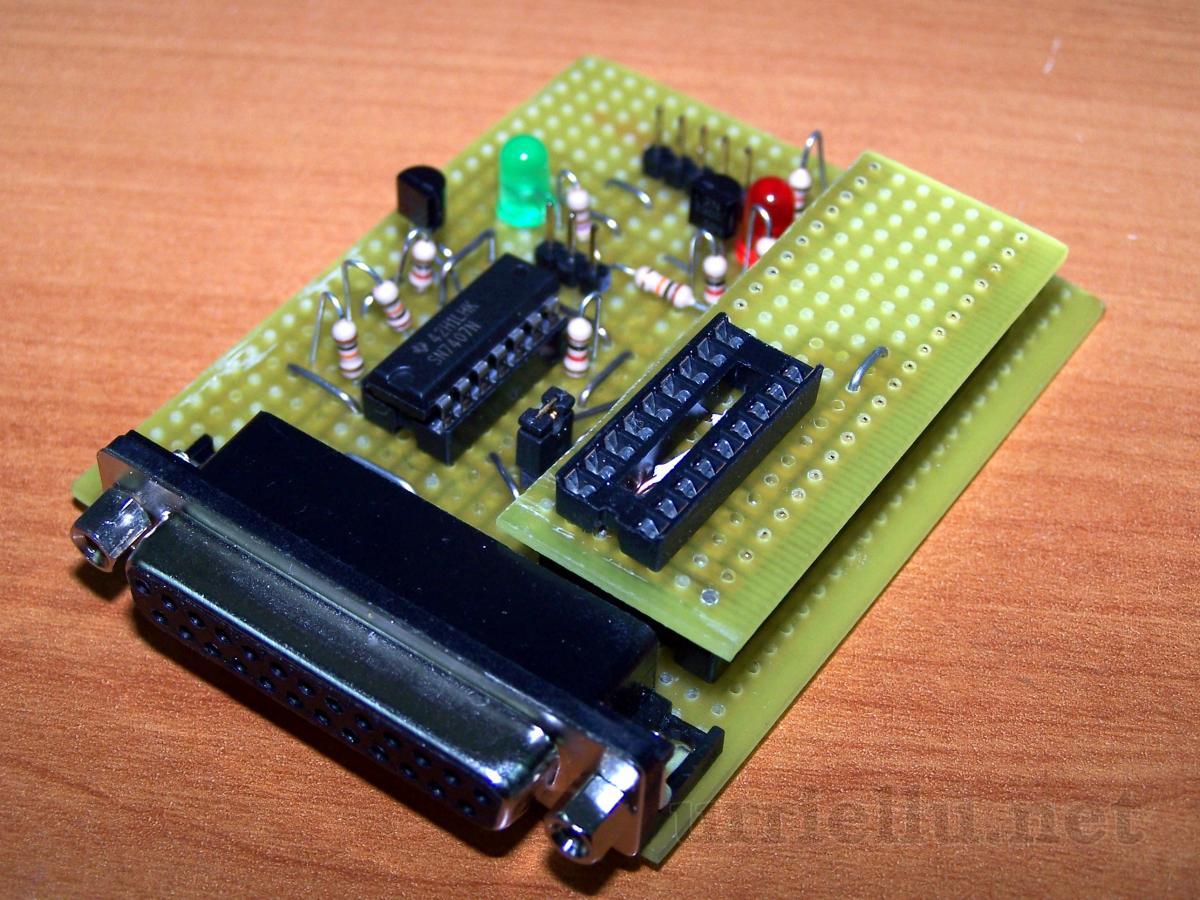
Stripboard design
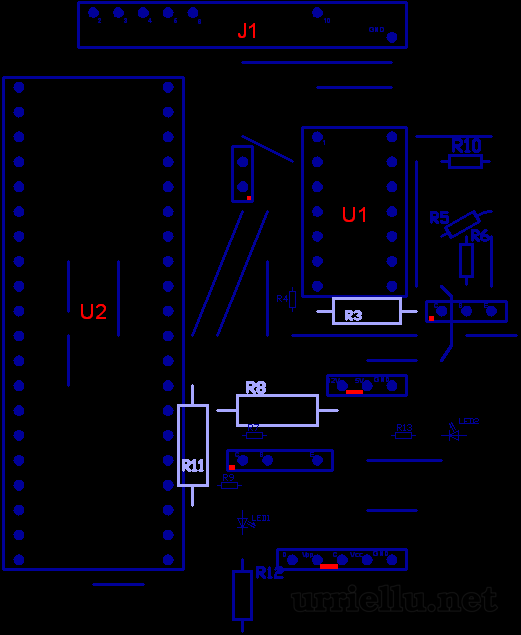


Building it on a stripboard
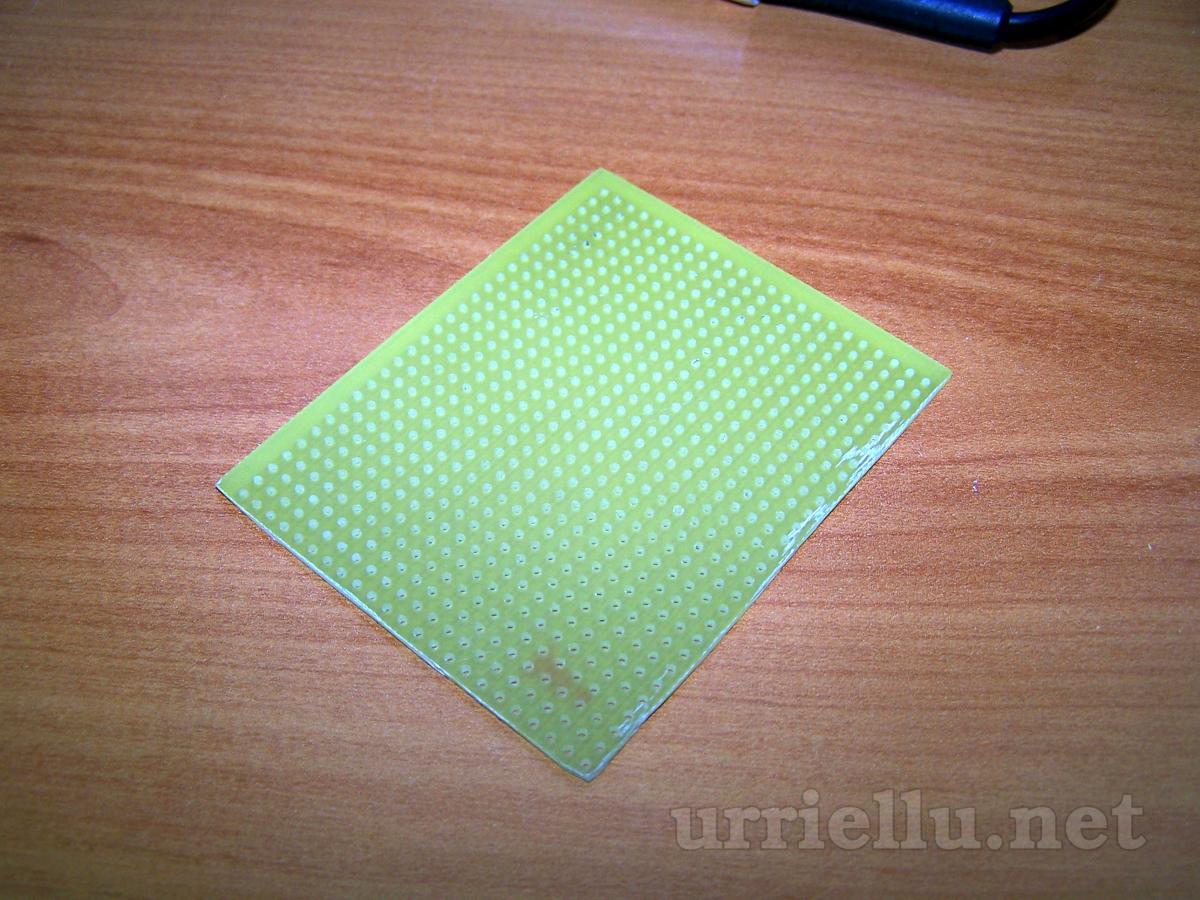
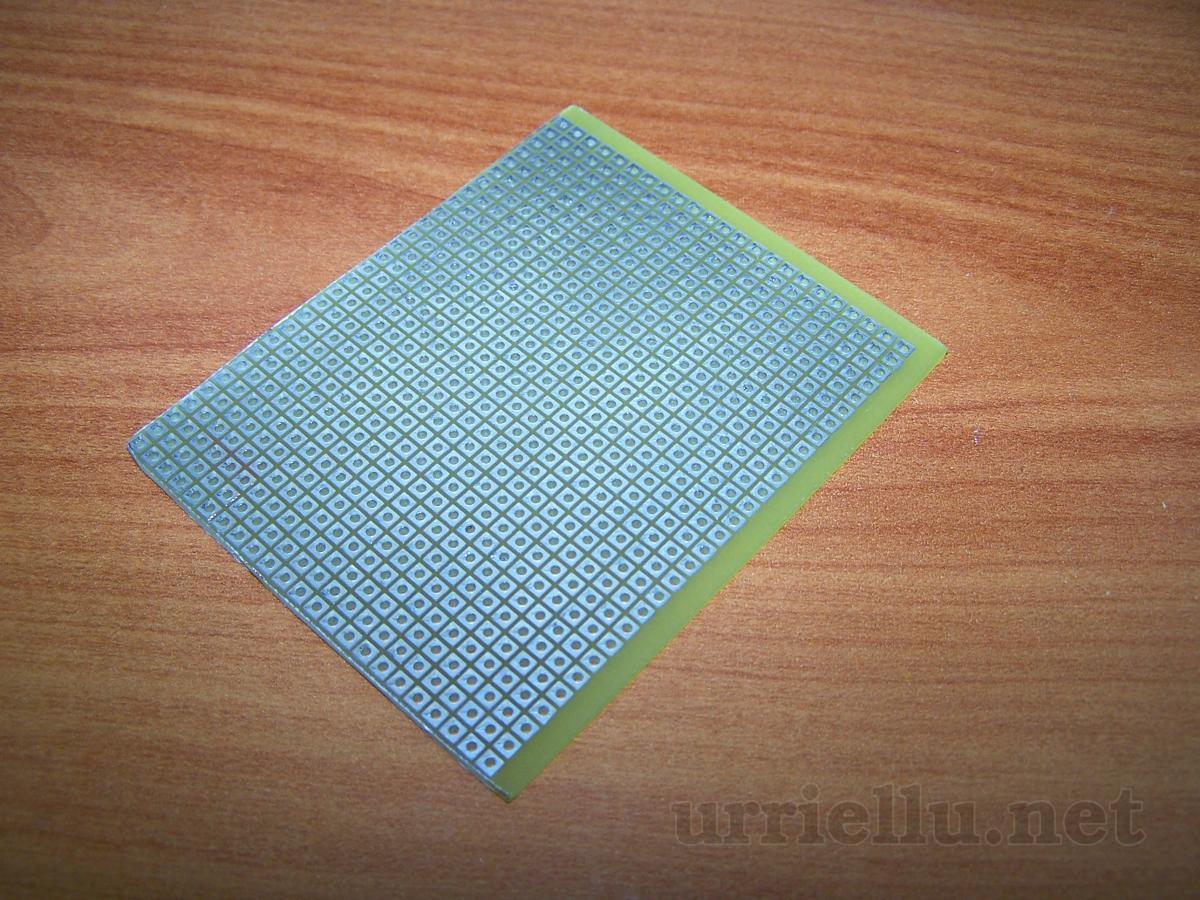

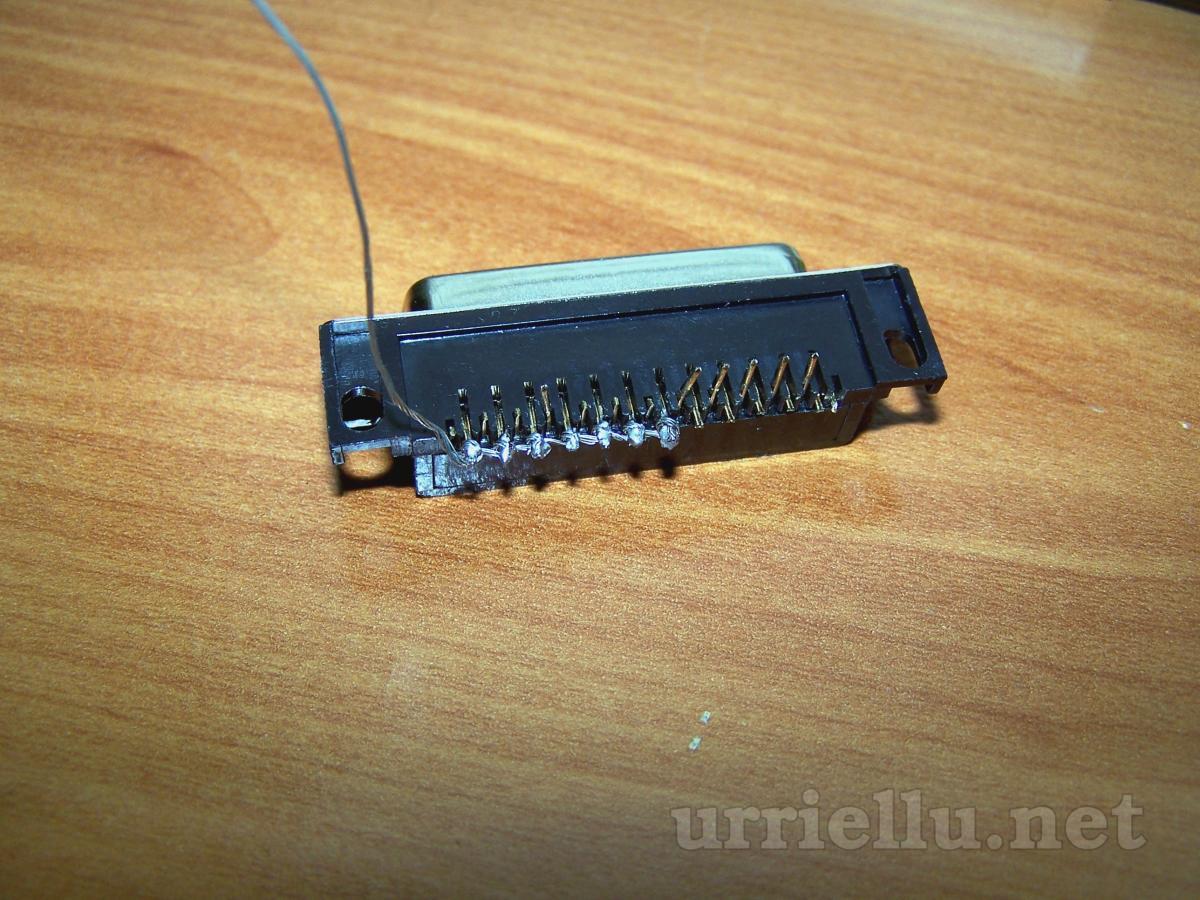
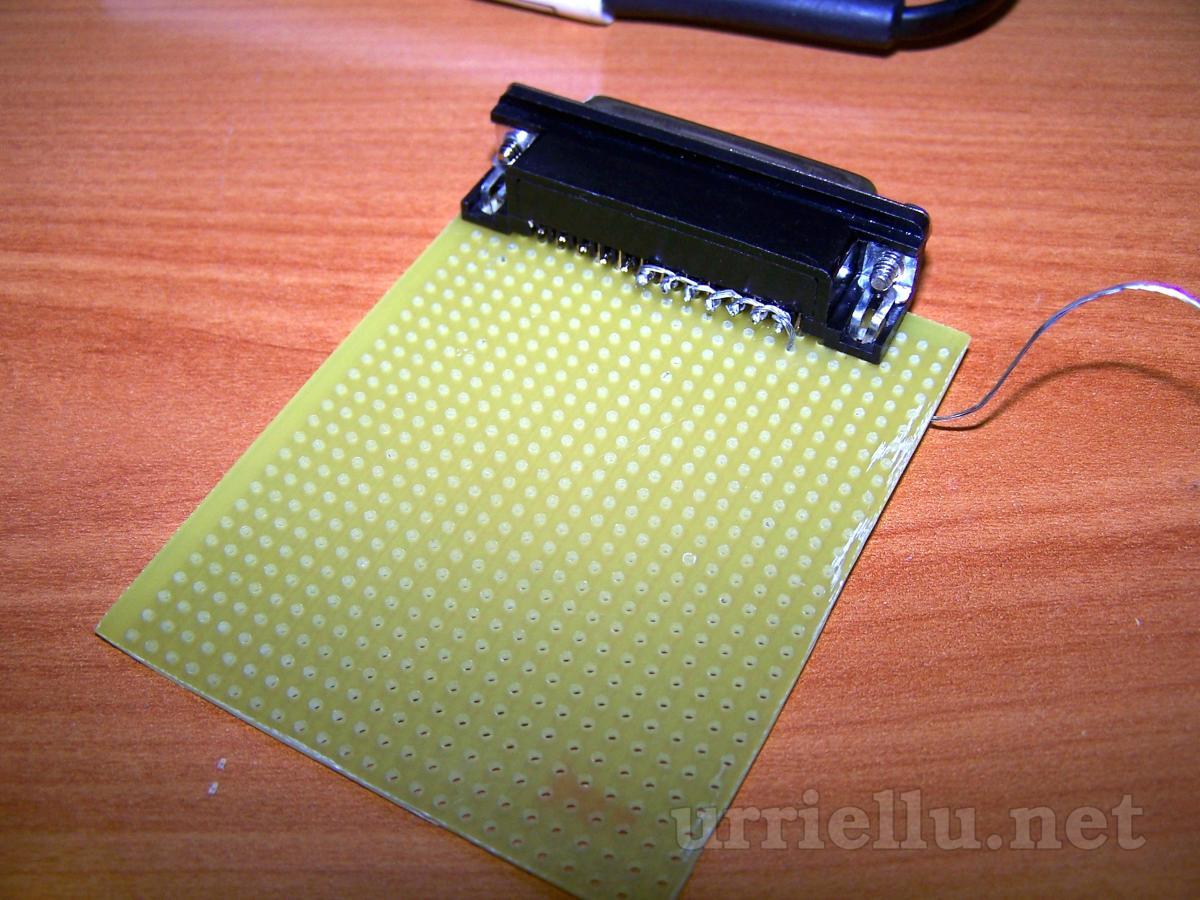
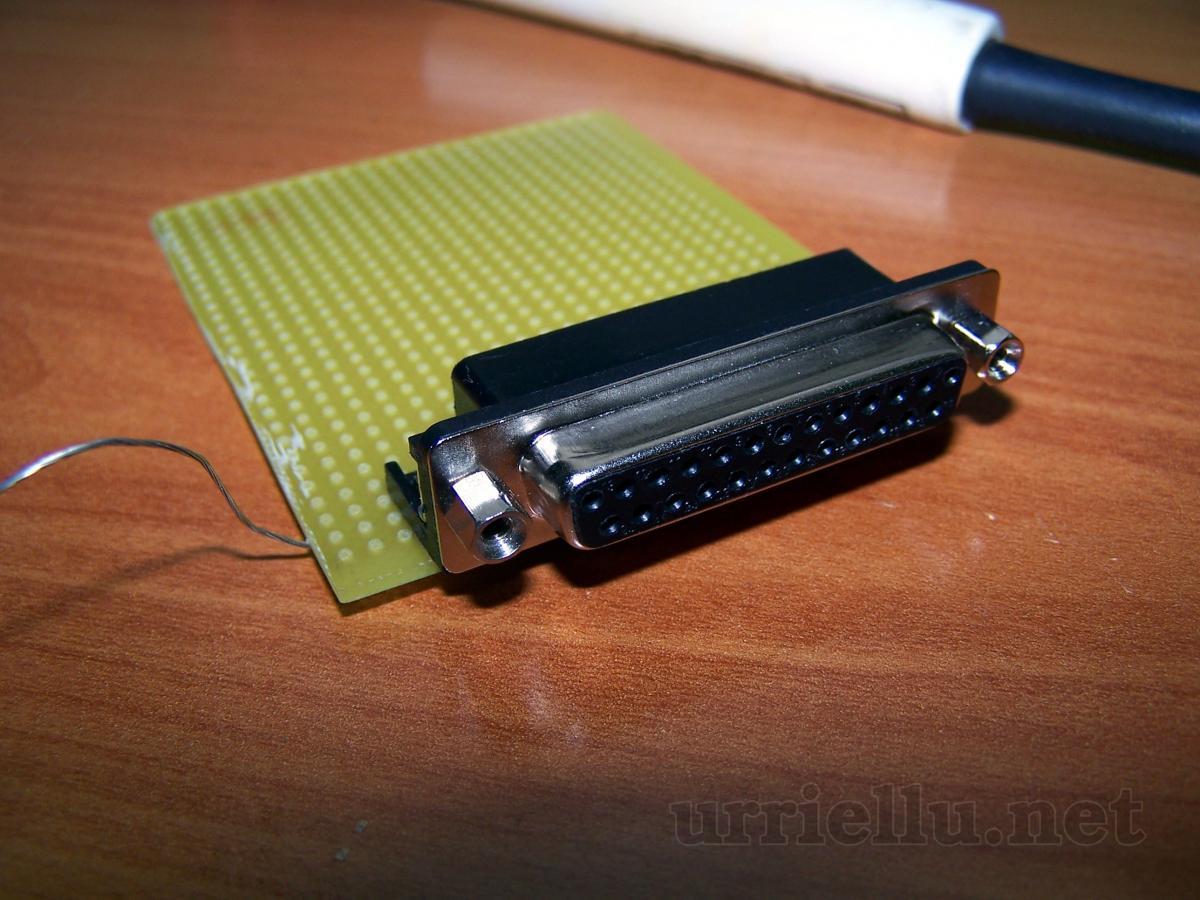
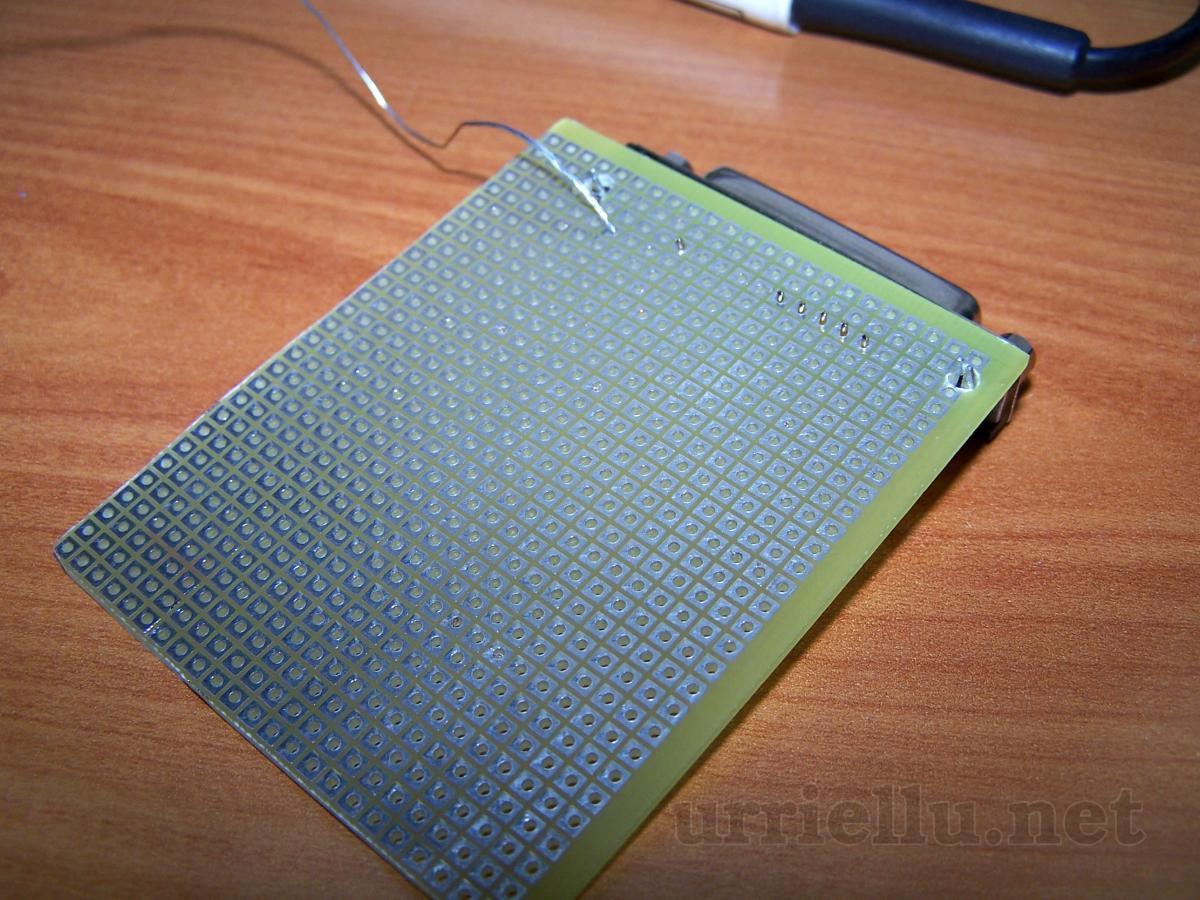


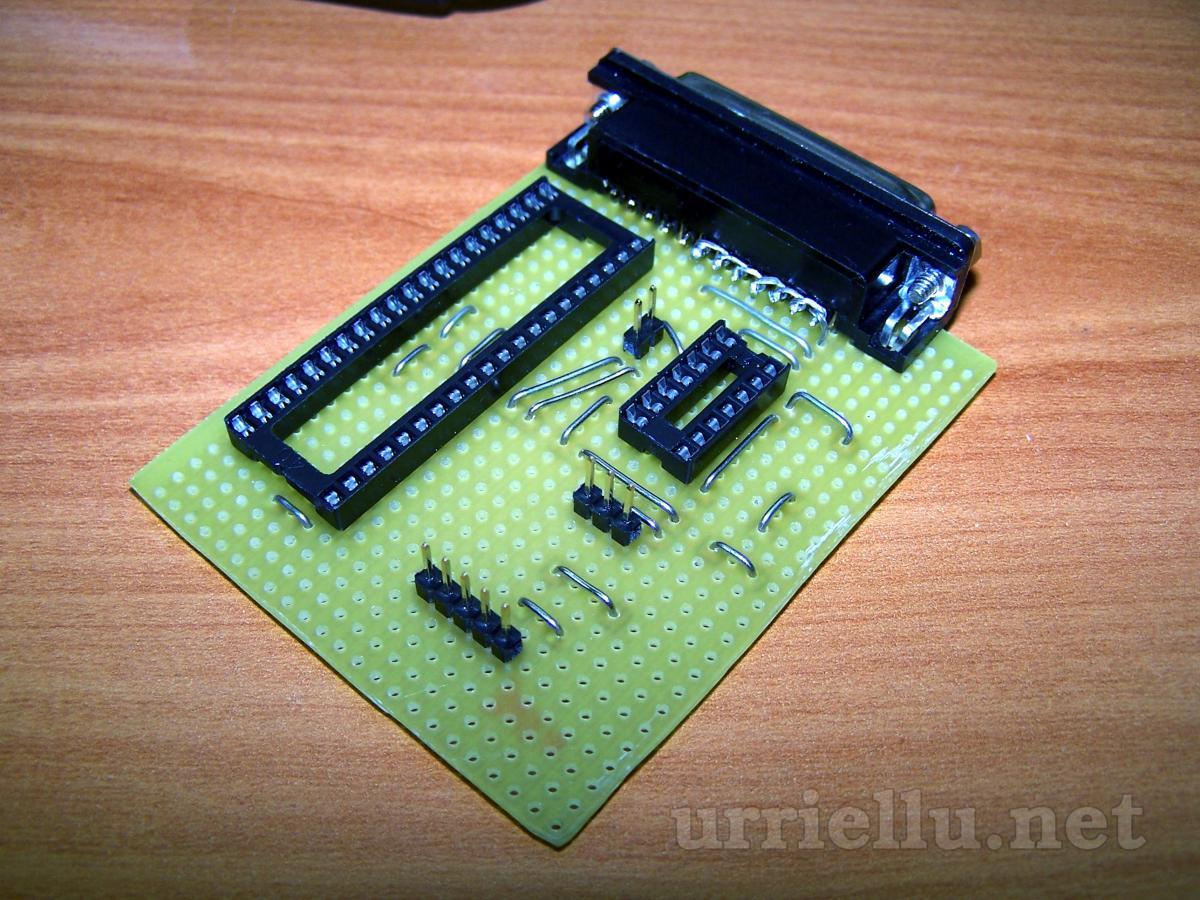
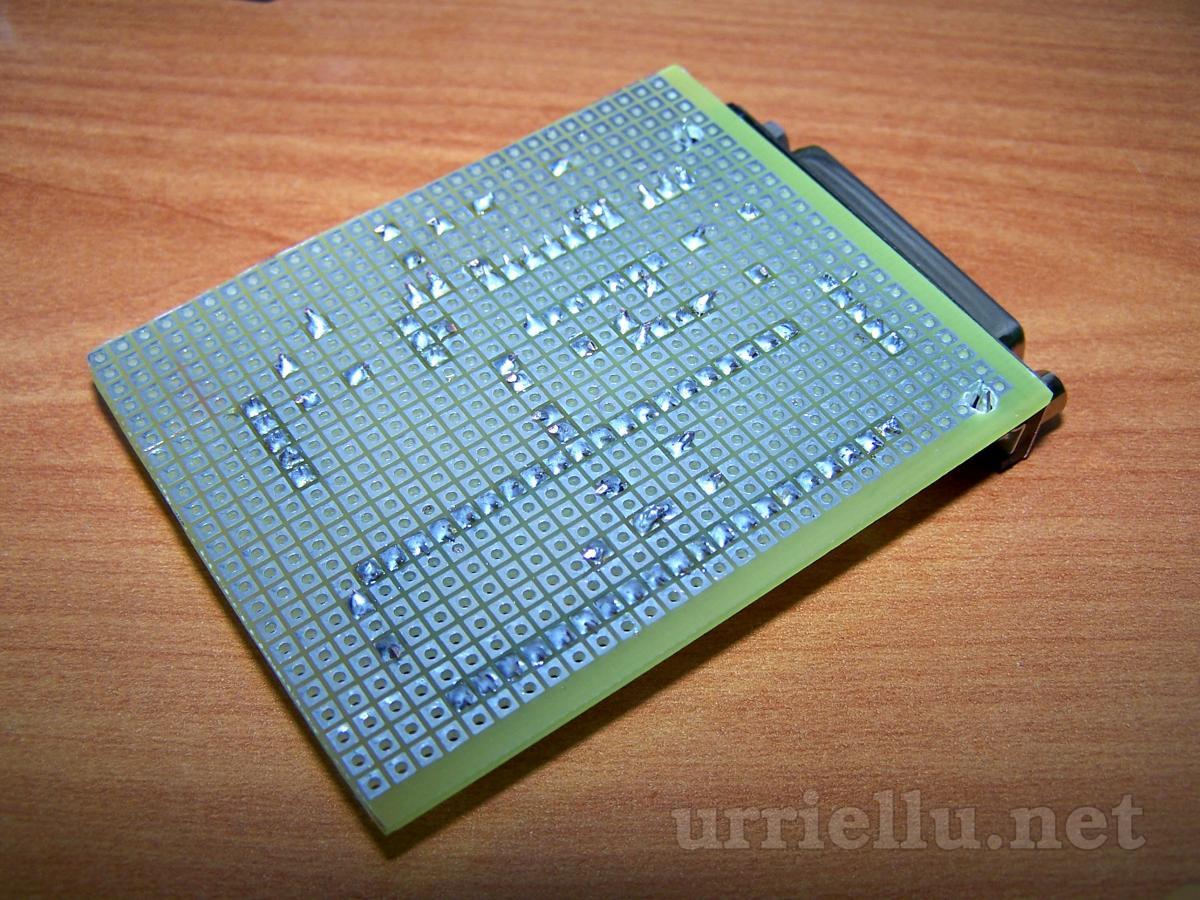
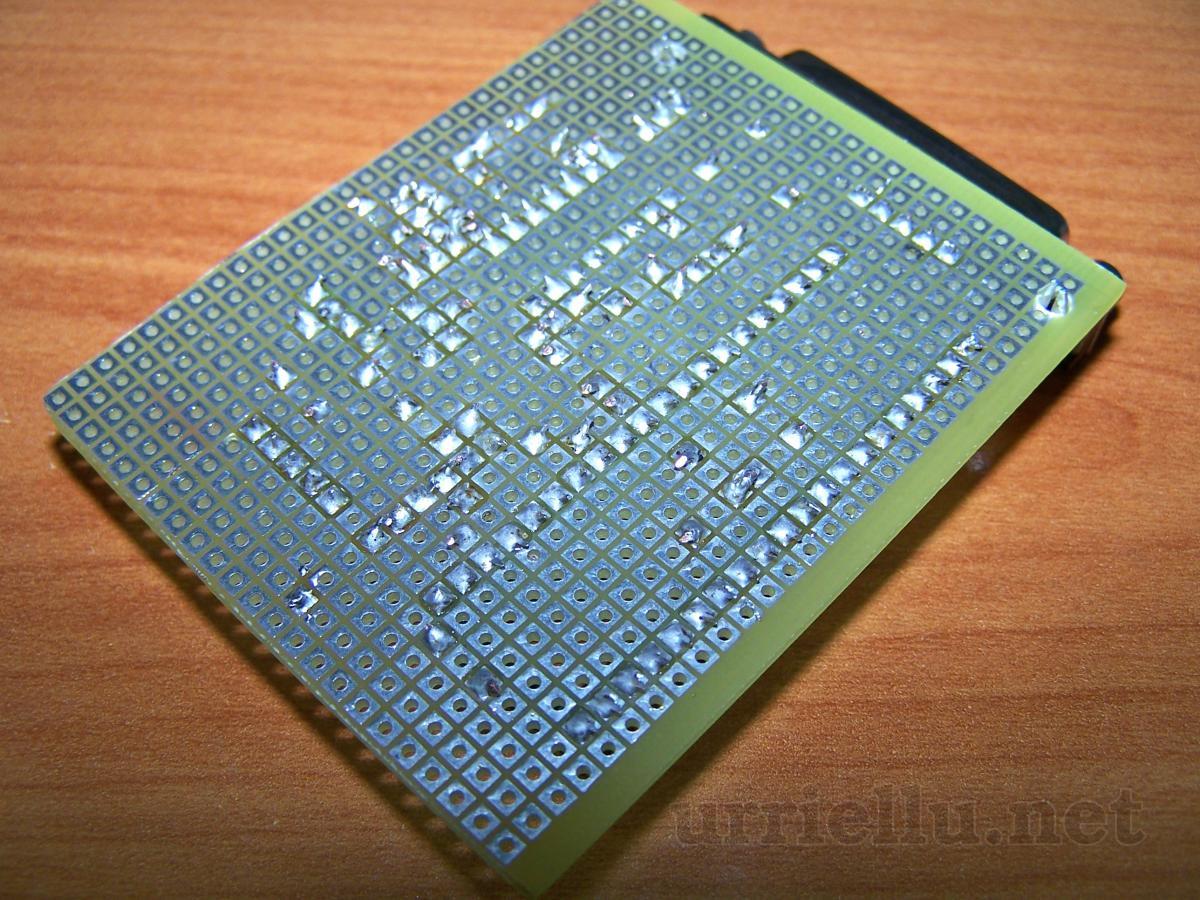
The pins of the female DB25 didn't fit the grid of the stripboard so I needed to modify it.
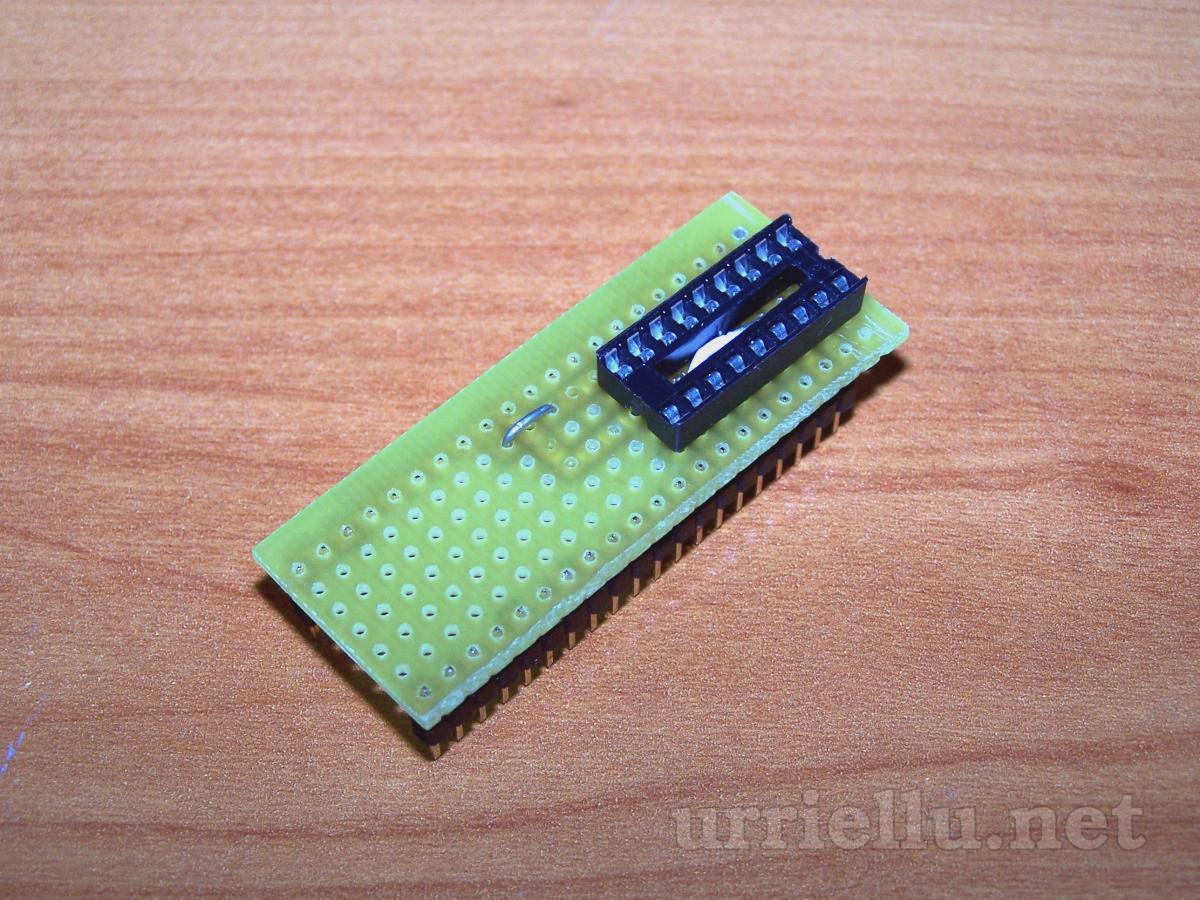
Adapter socket
For saving space on the stripboard just the 40-pin socket was placed on it, and adaptors were built so the rest of PICs could be plugged in.
The plastic part of the pins must be displaced a bit to the center so you can solder it on the tracks-side of the board.


Power cable
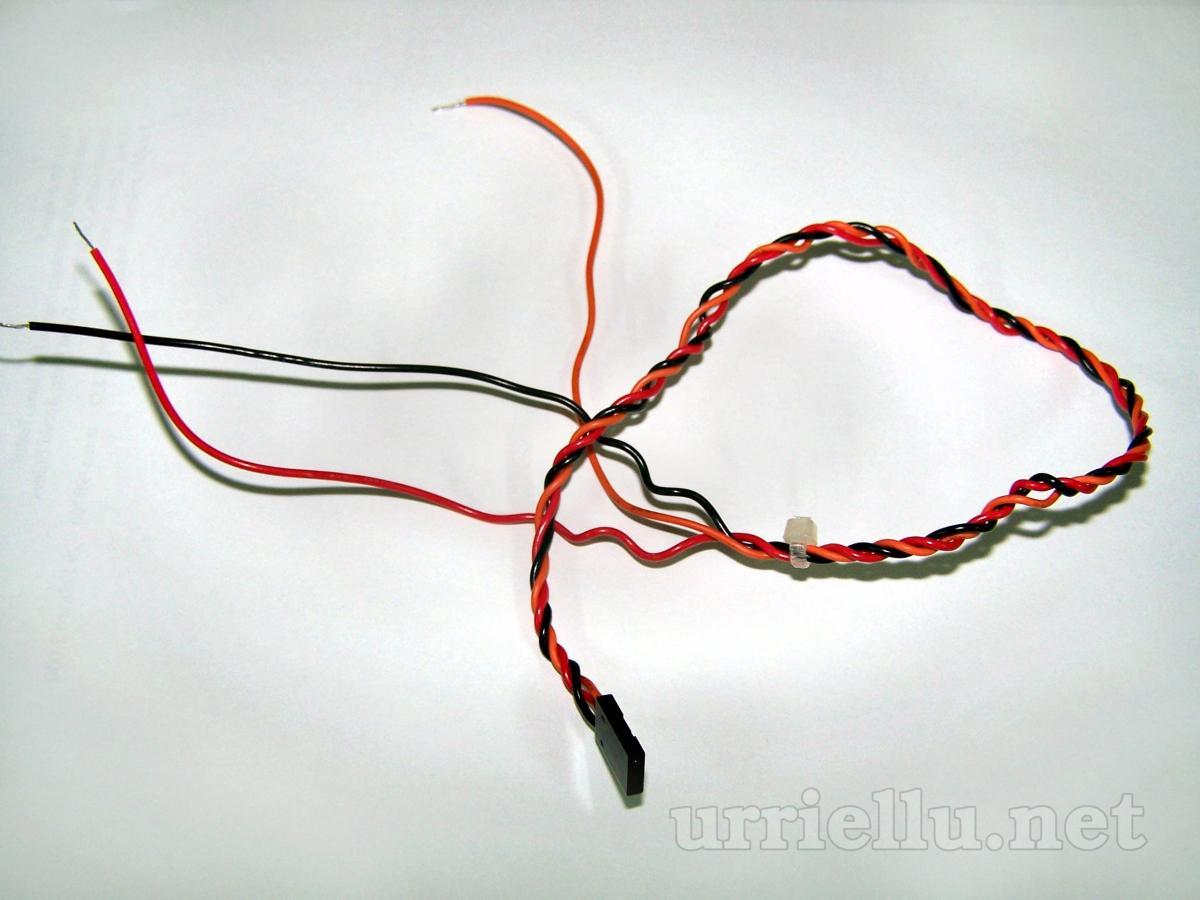
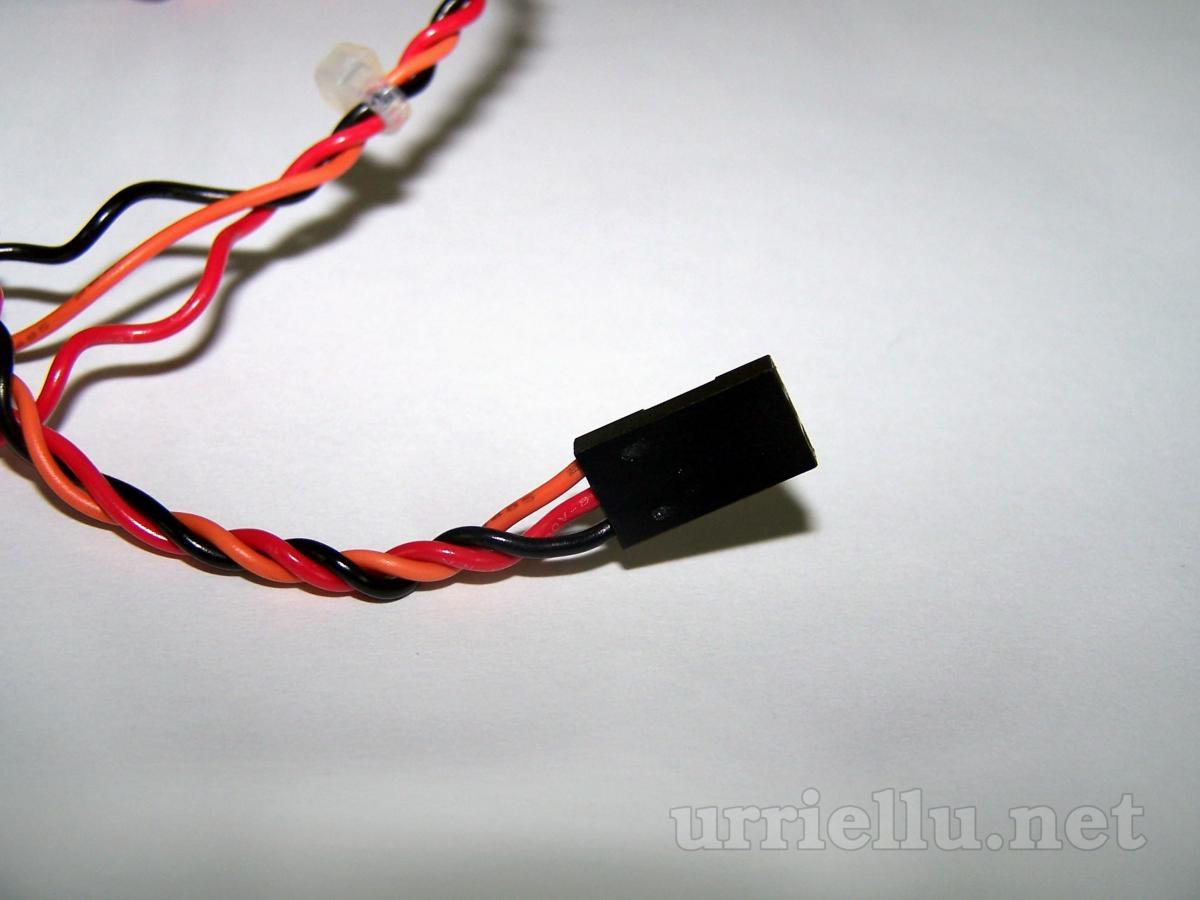
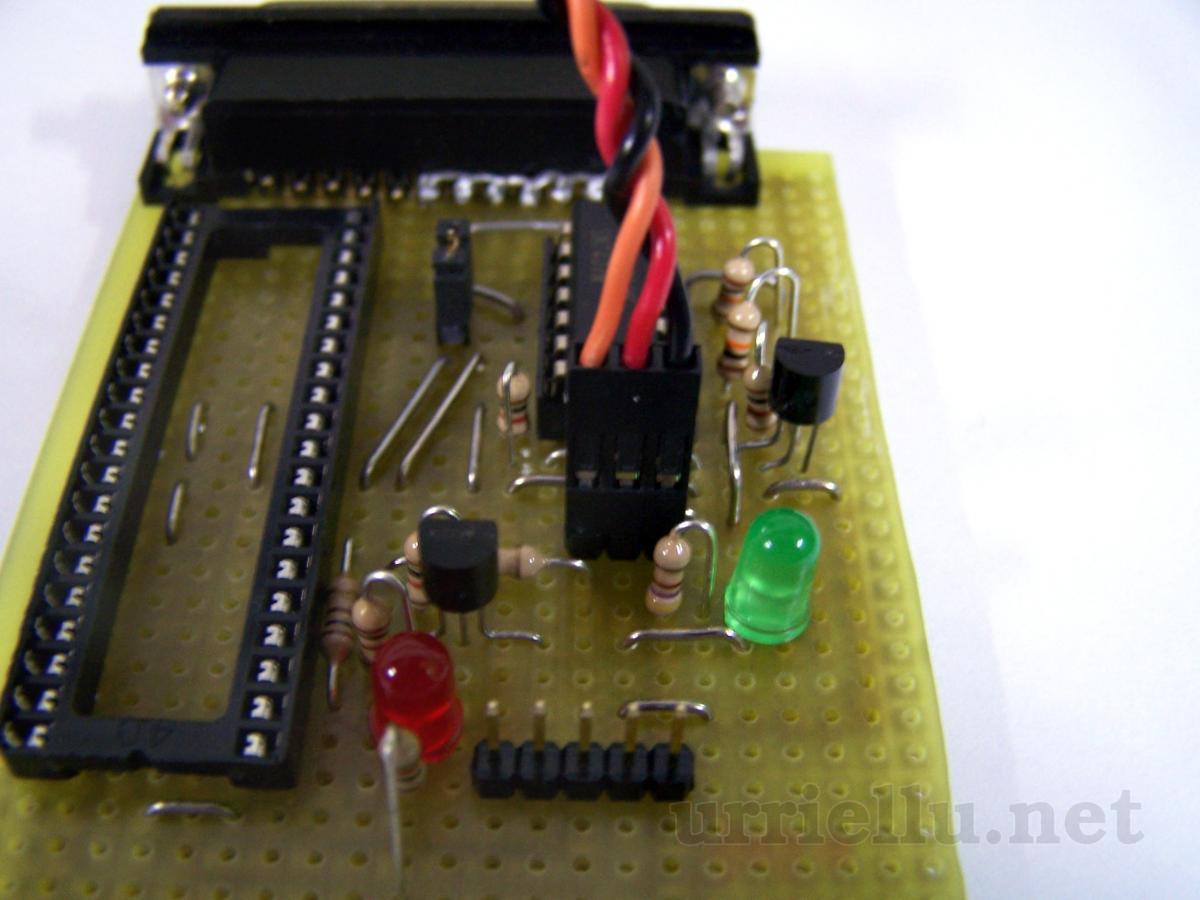
The black wire is the ground, the red one in the middle brings 5V and the orange on the side has 12-13.5V.
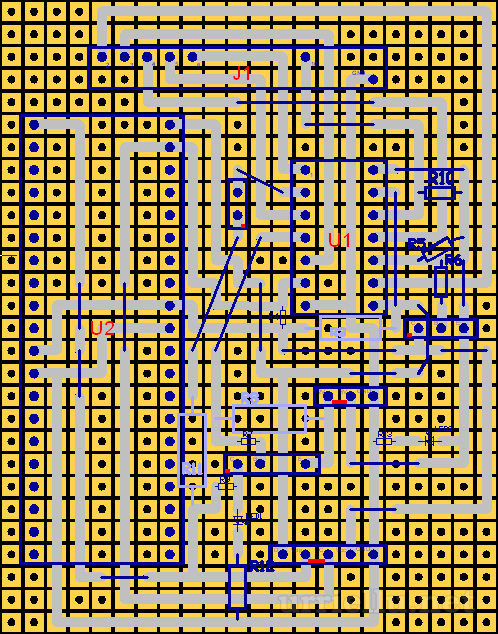
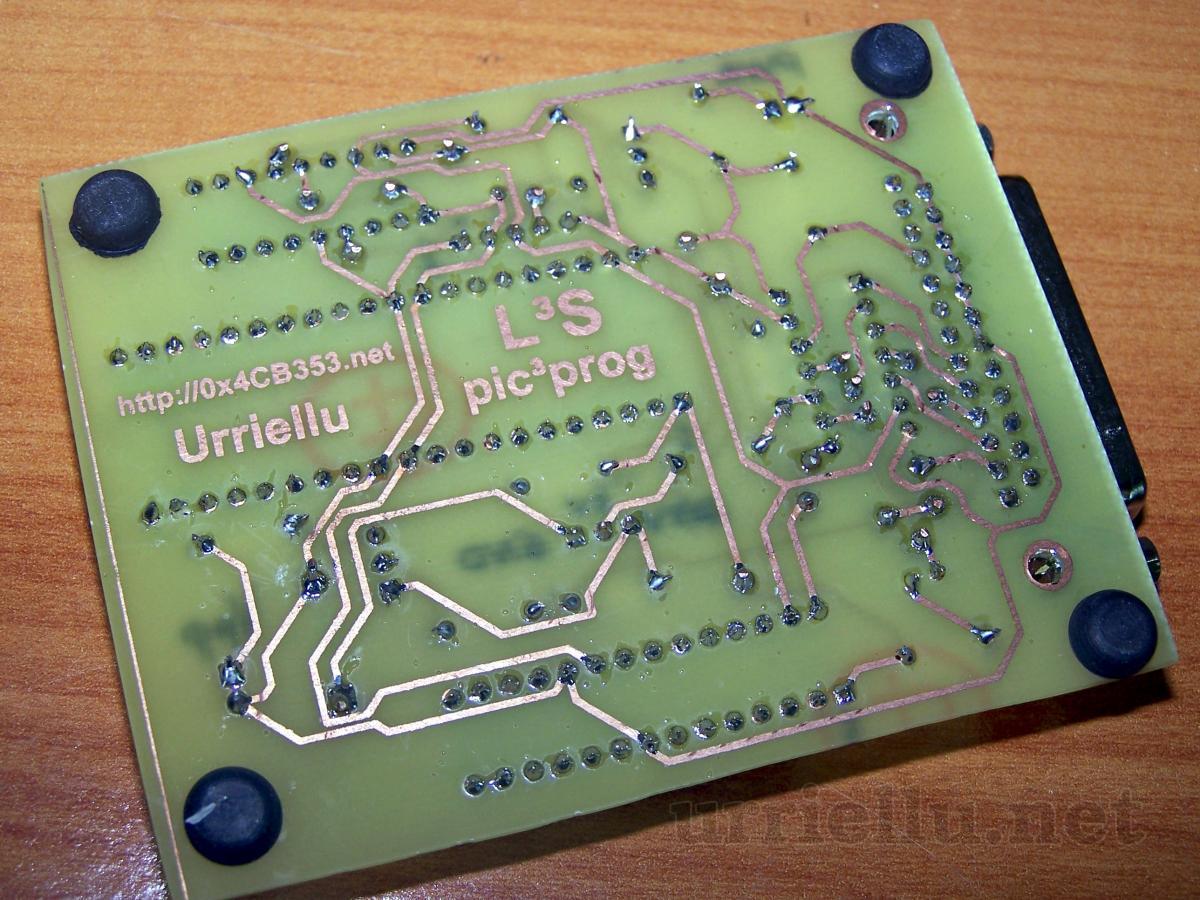
PCB design
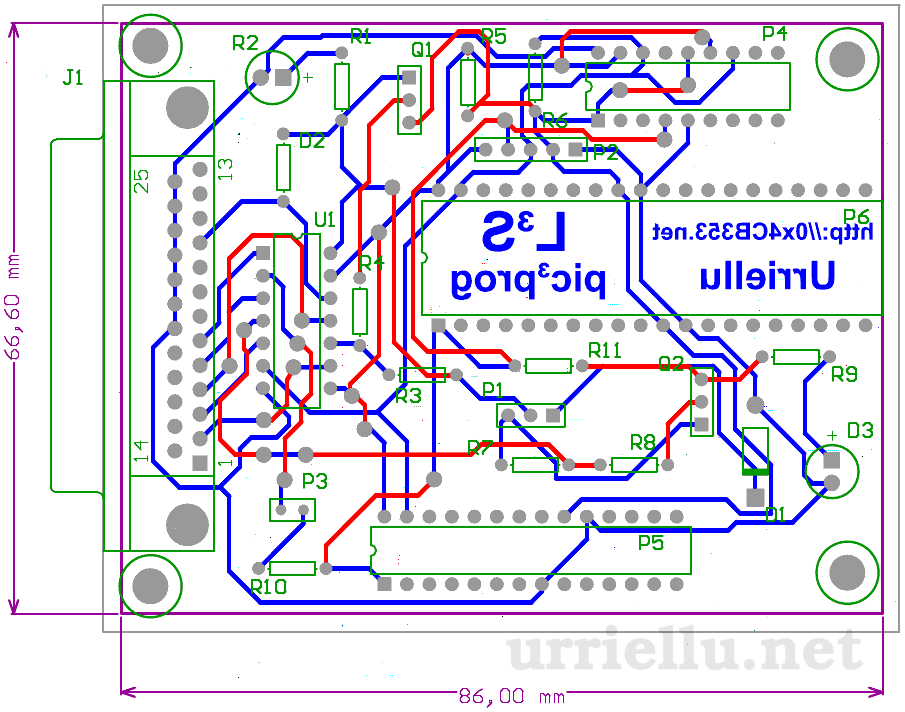 The design has two sides, you can see red (top) and blue (bottom) tracks.
Ground an power planes should have been added, but they are not strongly necessary.
Letters are mirrored because you are seeing the upper view and they are placed on the lower side of the board.
"L³S" and "0x4CB353.net" are written on the board because that was the place where all my projects were going to be published before urriellu.net was born.
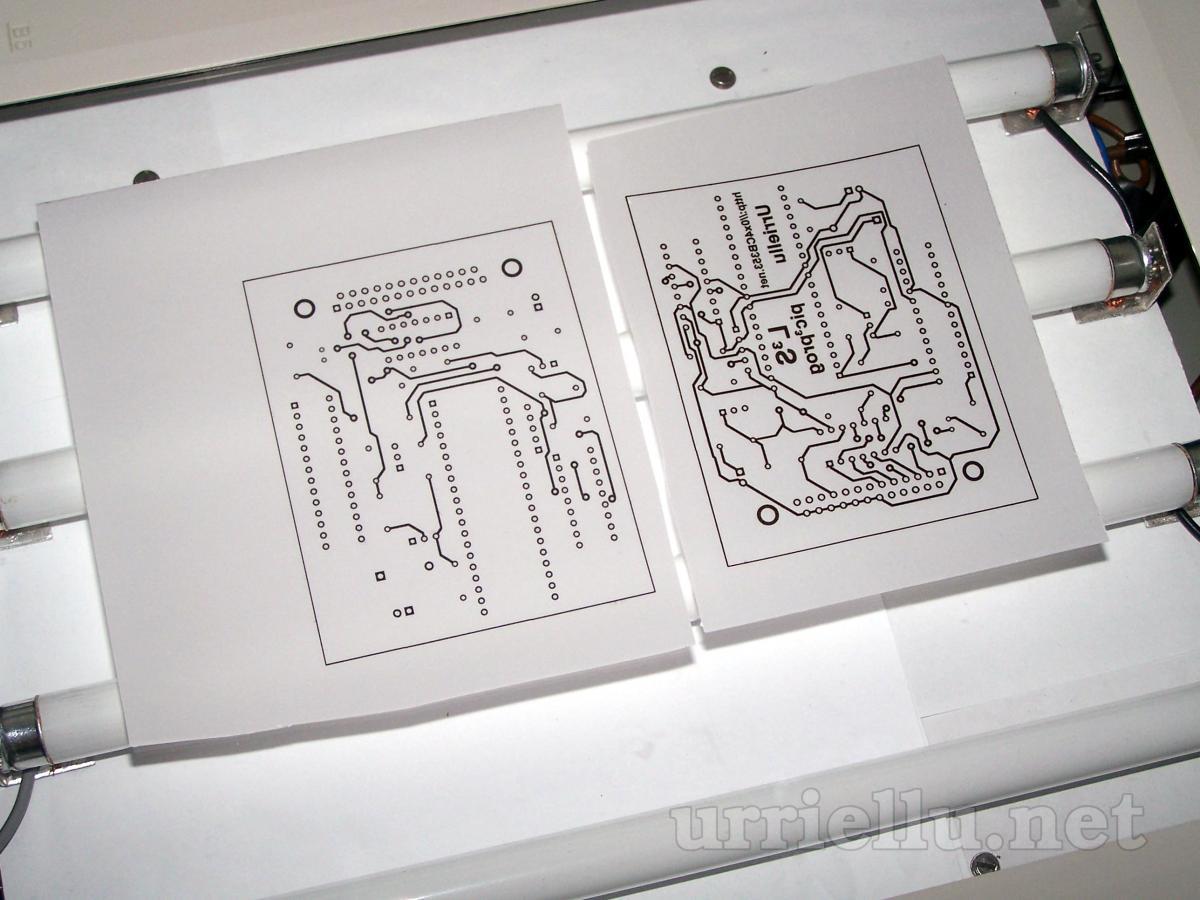
Building the PCB


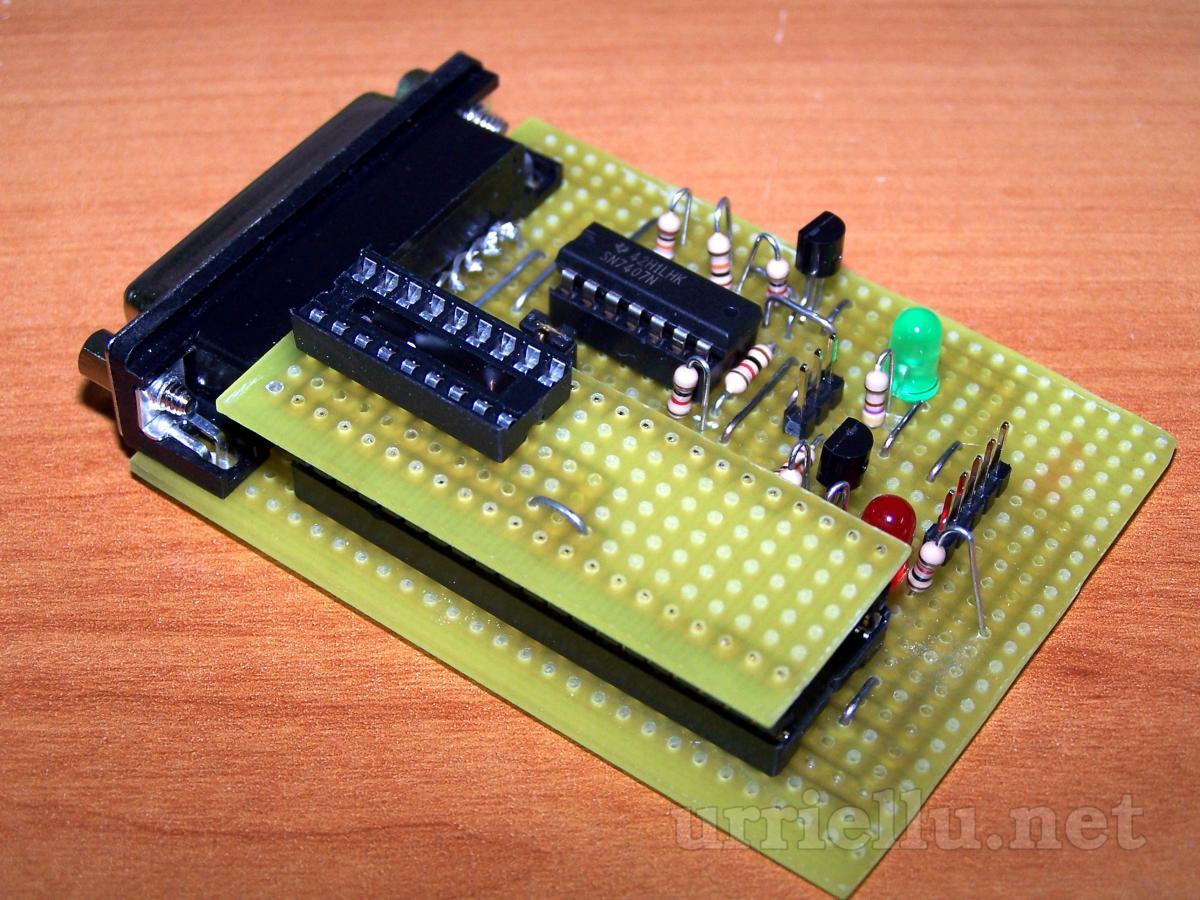
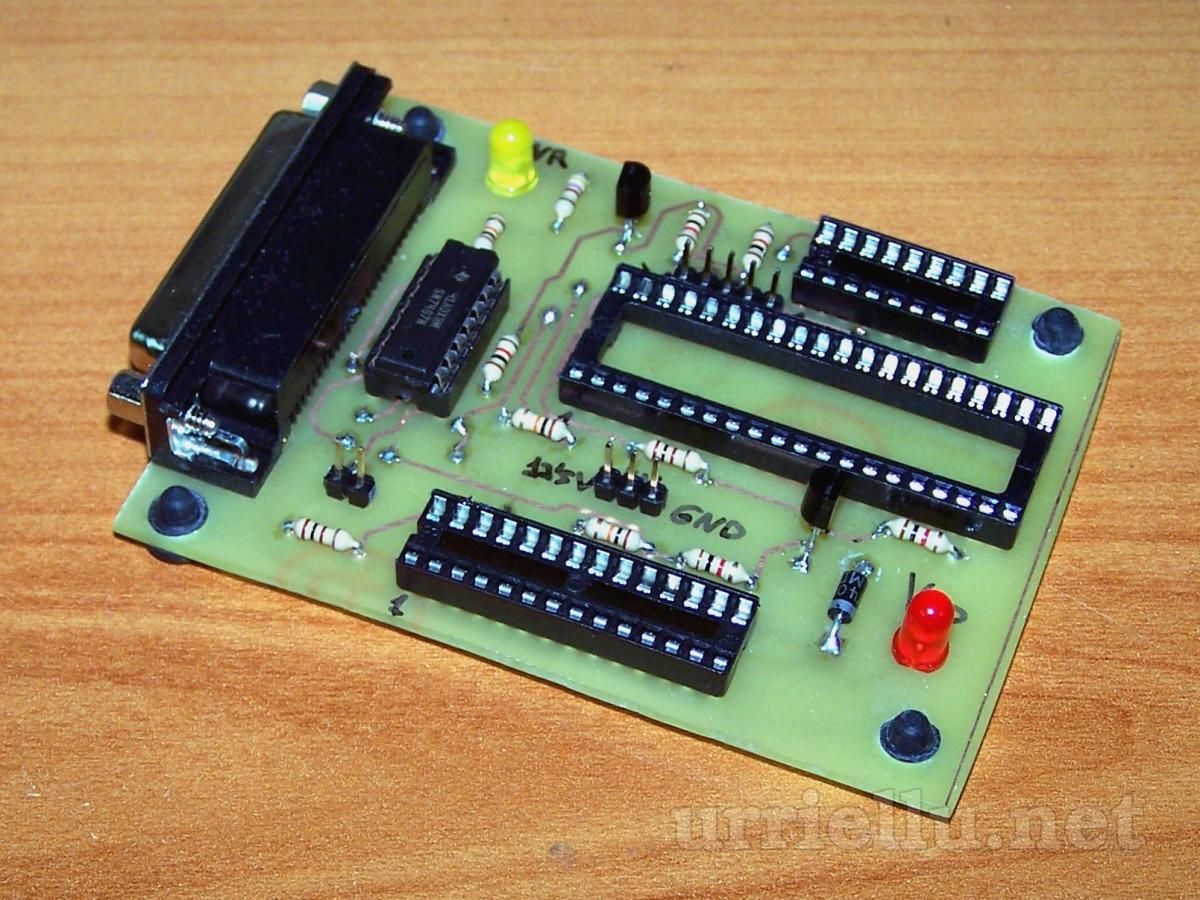
Finished boards
Stripboard:
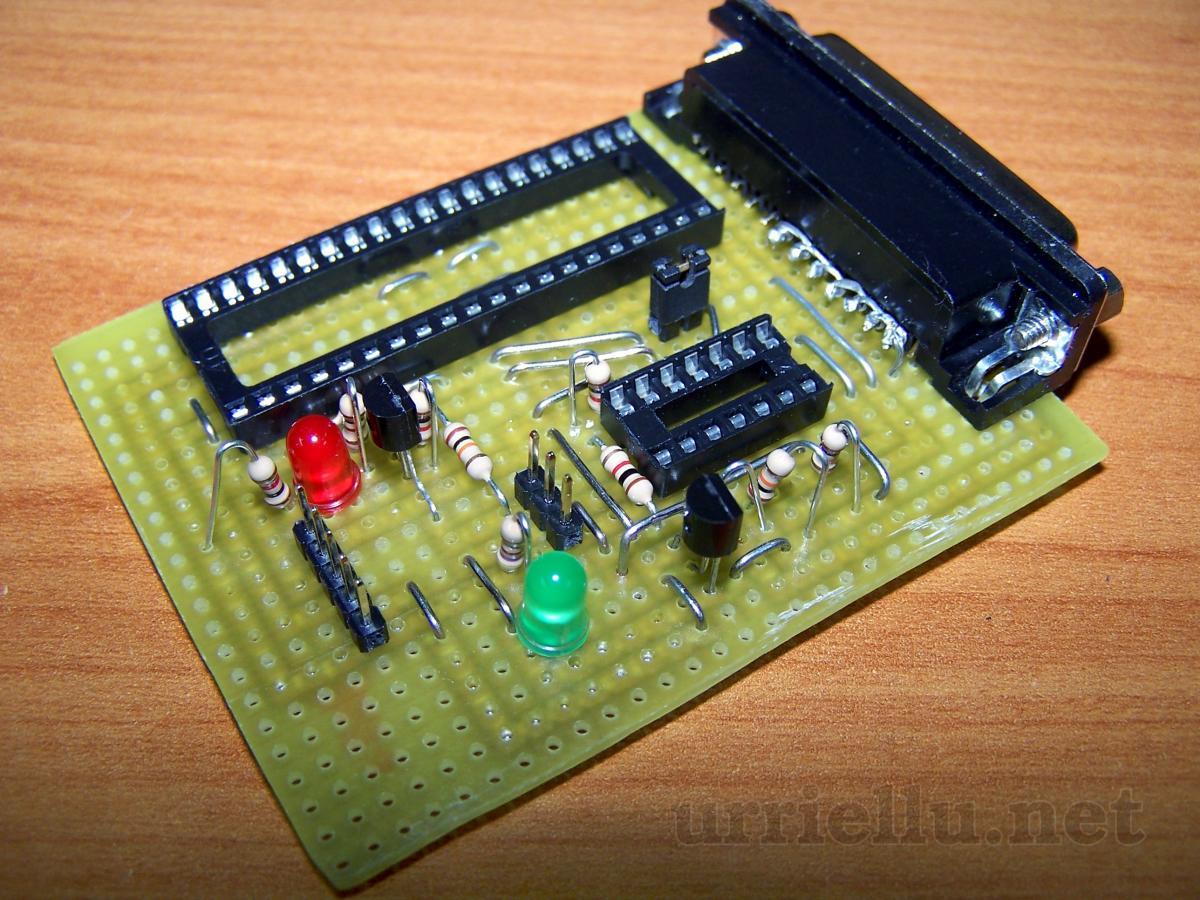
Stripboard with its adapter: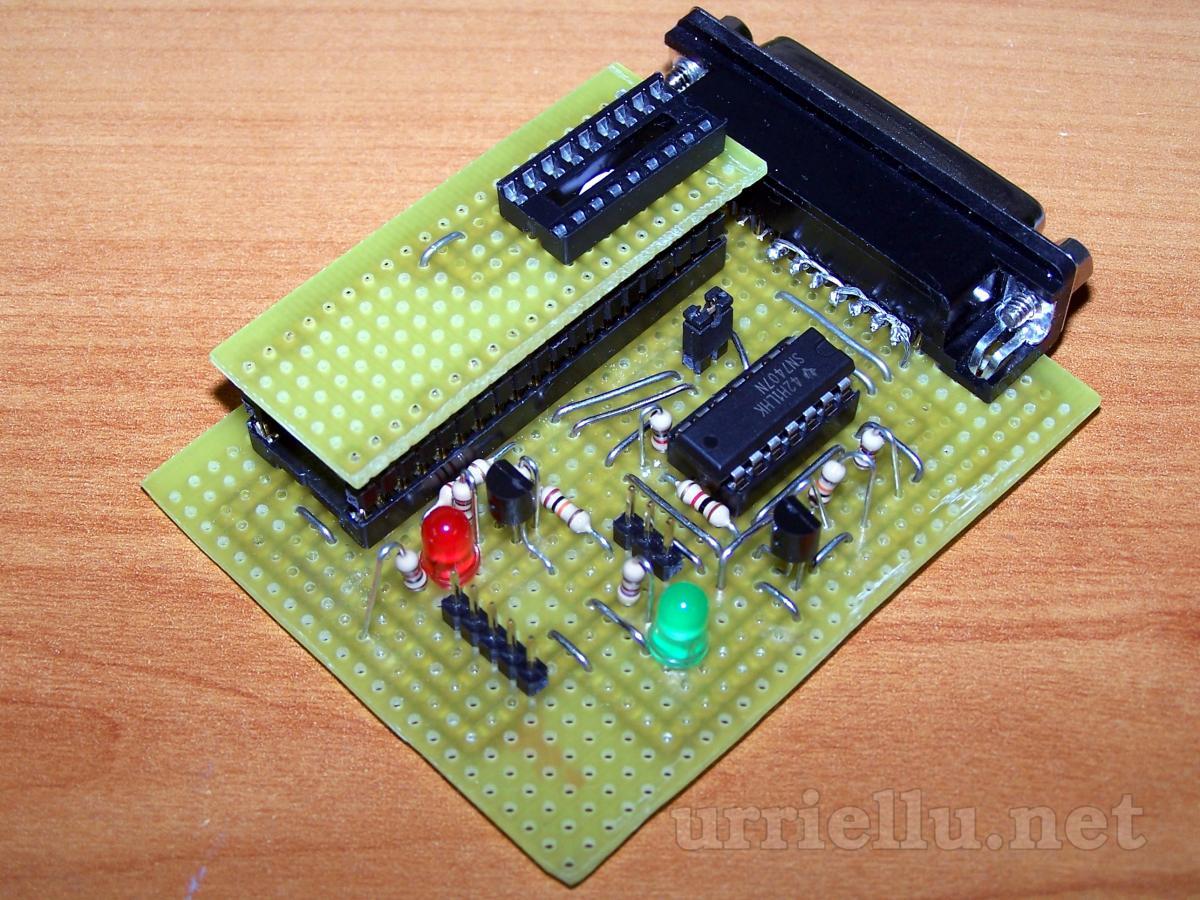

PCB: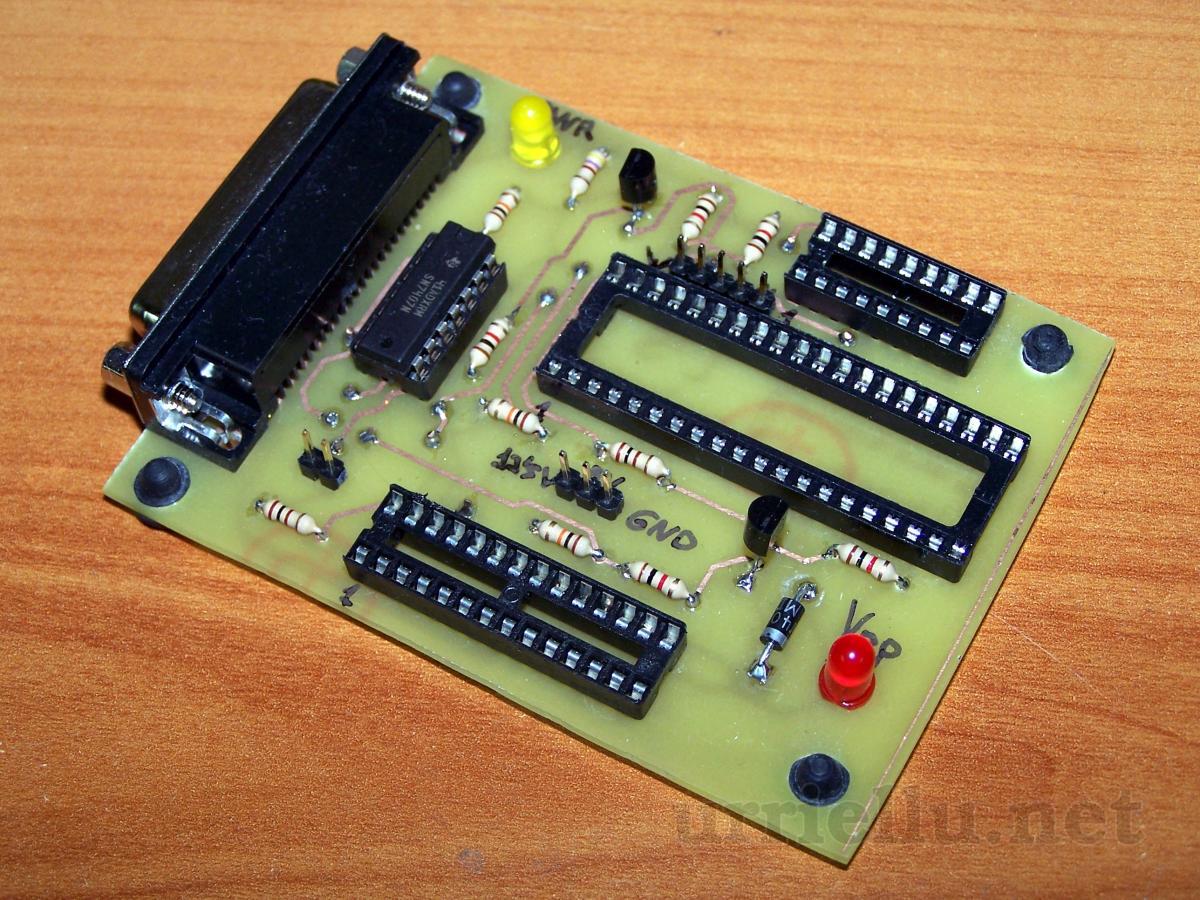


ProjectsElectronicsCLK³pic³progMechatronicsSoftwarePigmeoOthermabxArticlesElectronicsSoftwareOtherAdvantages of C#Events2nd (inter)Universitary Free Software ContestMicrobotics championship at the University of Oviedo. Summer 2007About urriellu.netThis websiteAbout mePublishing licensesContact
languageespañolrot13morse codebrailleenglishrot13morse codebraille
